To construct a DIY extendable patio dining table for your outdoors, you need to follow a step-by-step procedure for proper assembling of all the materials. However, before you start the process, make sure you have all the right tools and materials for a flawless construction.
In this article, you learn to get all the steps involved and a complete list of supplies you need. So read on and find out.
Materials to Get to make Extendable patio dining table
Following are the tools and materials you need to start the construction process. The number of wood lumbers required is dependent on the size of the table you are building.
- Tabletop connectors
- Two-and-a-half-inch pocket hole screws
- 1.25-inch wood screws
- Wood glue
- Countersink drill
- Kreg jig
- Miter saw
- Drill
- Circle saw
- Tape measure
Step-by-step process to make Extendable patio dining table
1. Make initial lumber cuts
Start your extendable outdoor dining table set project by making the initial lumber cuts. The best way to cut is to make the frame of the tabletop using your wood lumber. Check if the size of the frame is perfect according to the total space available on your patio. If not, add more lumbers to make the frame bigger or cut the existing ones to reduce the size. You can use a miter saw to make the cuts.
Now, place all the remaining lumber by cutting them into the right size to complete the tabletop. Keep in mind that you won’t be joining the lumbers together but just placing them on the ground to get a good idea of how your tabletop will look. You can change the arrangement of the lumbers to set a unique design for your top. Once the design and size have been finalized, move to the next step.
2. Mark pocket hole placements
Once the tabletop size and style have been finalized, move to mark the pocket hole placements. Use Kreg Jig to add the pocket holes to both sides of the boards. To save time, you can make all the holes at once and with accuracy by placing all the lumbers on one another. On the other hand, if you are making a big table, make sure to divide the tabletop into two squares. Fill one square of the frame first and then the other to make things easier. Moreover, the piece dividing the long rectangular top into two sections would also work as an additional support to the long wooden planks that form the tabletop.
3. Use glues and screws for assembling
Now that you have everything set up in place, start assembling by using waterproof wood glue. While filling the squares, make sure that you have a similar gap between each plant or no gap at all. Leaving no gaps between planks would keep the tabletop smooth. Once you have glued everything in place, add the pocket hole screws. If you decide to keep a gap between planks, ensure equal gaps by placing a similar-sized piece of wood on each gap. Use this similar process for both squares of the rectangular top to complete the construction of one side of your outdoor patio dining table.
4. Attach the table aprons
Now that you have the tabletop completed, attaching the aprons is the next step in your extendable dining table plans.. Start by marking the center point and taking an accurate measure of the sides of your tabletop. Then cut the aprons and attach them with glue and screws to the bottom of your tabletop. Make sure not to attach the apron to the extreme corners, but at least three and a half inches back from the table edge. To support the aprons in place, attach two support boards perpendicular to the longer side of the aprons.
5. Prepare the legs
With aprons, your tabletop is ready to be placed on the legs. However, to prepare the legs, you can either use four simple pieces of wood or go for a much more complex design. For designing, use additional wooden planks and attach them in different arrangements. You can use X or square shapes on the bottom of your tabletop to make it look more stylish and modern.
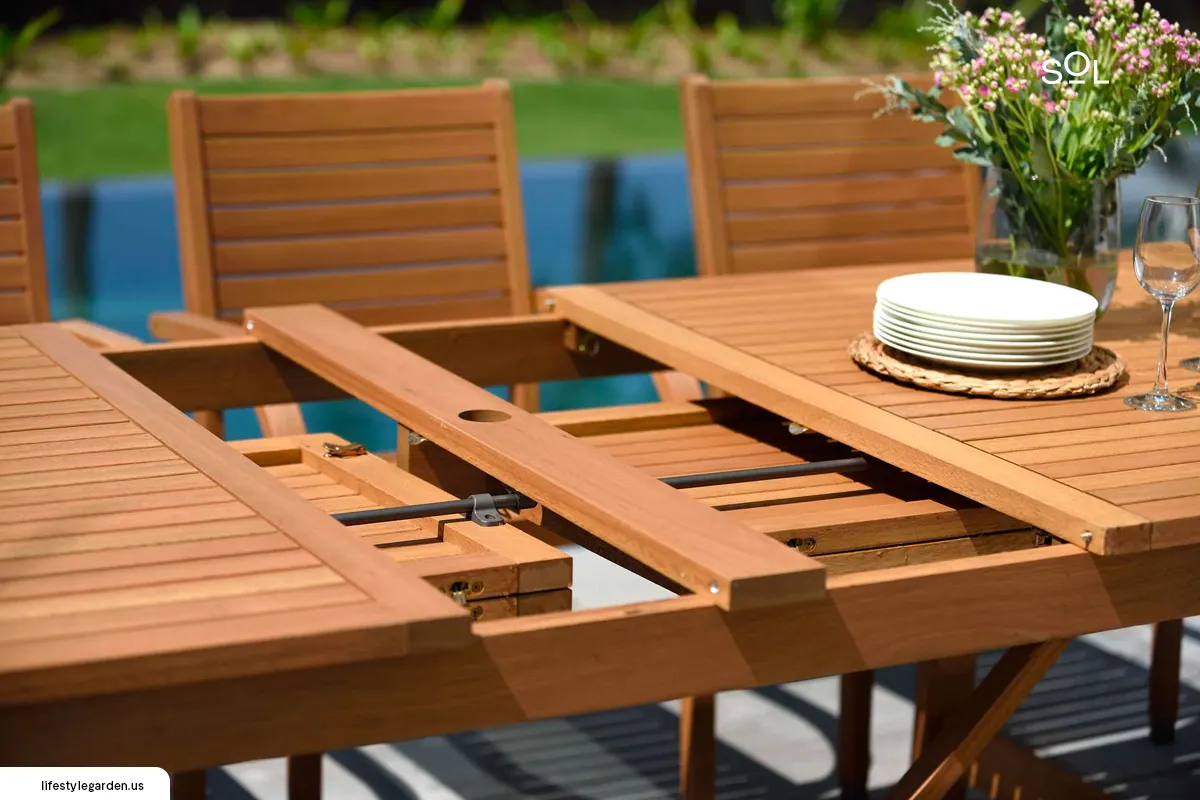
6. Attach the legs with the top
Once the legs of your table are ready, attach them by using waterproof screws and wood glue. This would permanently attach the legs to the table. So, to make your table extendable, you can use corner brackets that hold the whole system together while allowing you to remove it whenever you want.
7. Drill your umbrella hole
Once everything is prepared, use a drill to make a hole in the middle of the table for attaching the umbrella. It is an outdoor furniture trend that helps you protect your furniture while elevating its overall appearance. A 2-inch hole would be a perfect size to fit an umbrella, as most of them come with a 2-inch or less sized pole.
8. Stain and seal
The next step requires you to sand down the joints that are not evenly joined with each other. Afterward, stain your table by using the color of your choice or the color that matches well with your patio theme.
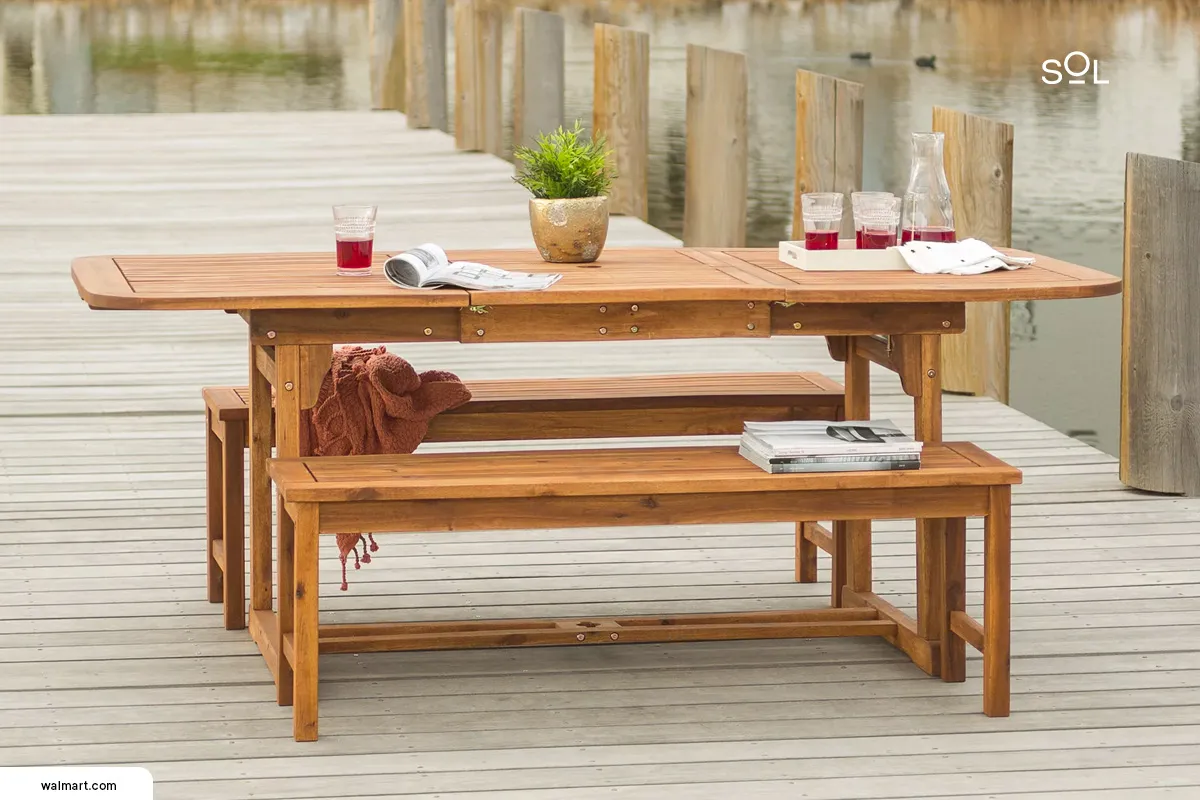
9. Make your table extendable by adding more pieces
The whole step-by-step process you just read can be repeated to prepare two more pieces that help extend the table. However, this time, you will be separating the big rectangular frame you built in the first step into two squares. These two squares would form two square-shaped tables with the same design as the main table. These separate square tables can be joined together or placed separately to increase the dining space, making it one of the best wood outdoor furniture sets.
Frequently Asked Questions (FAQs)
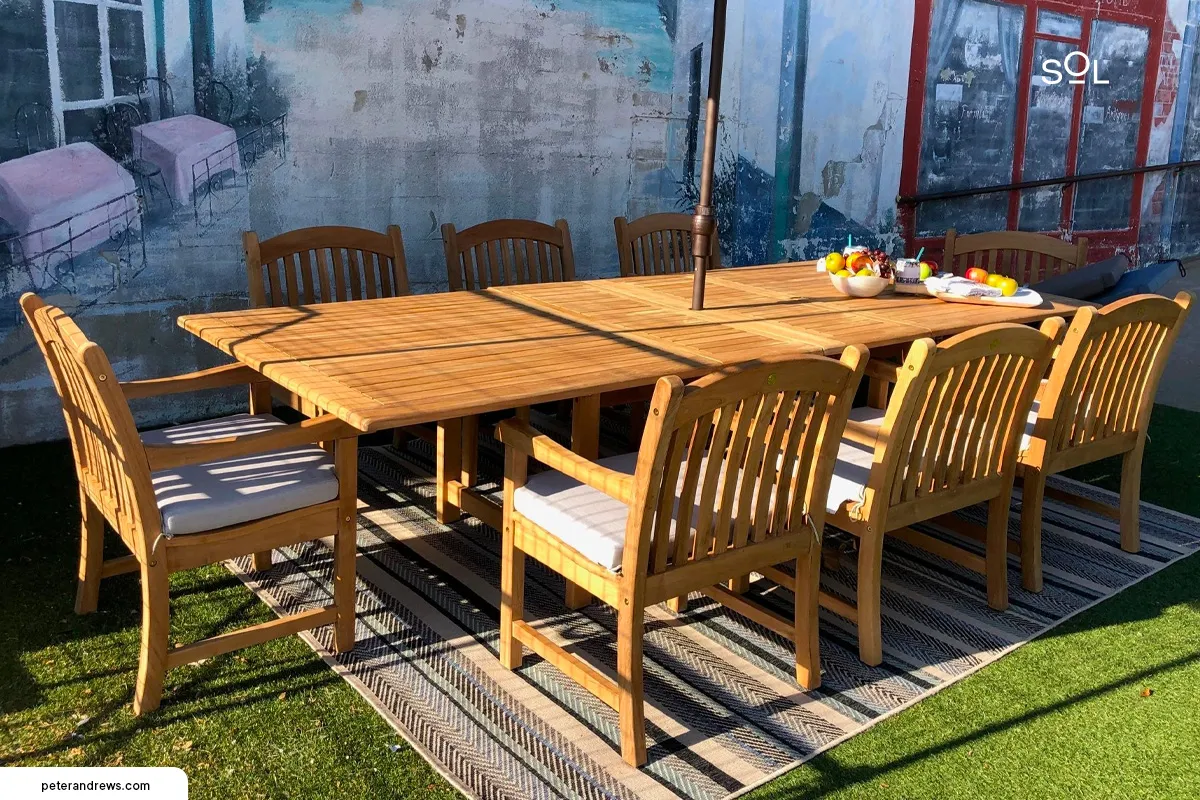
Are extendable tables worth it?
Extendable outdoor dining tables are worth every penny due to their additional benefit of accommodating more people. You can make the table bigger by attaching the additional pieces or widening the tabletop if possible.
What do you call a dining room table that expands?
The dining room table that expands is known as the extendable table or extendable dining room table.
What are the disadvantages of an extendable dining table?
An extendable dining table can make the space look a bit cramped indoors. However, the outdoors doesn’t suffer from the problem due to spaciousness.
