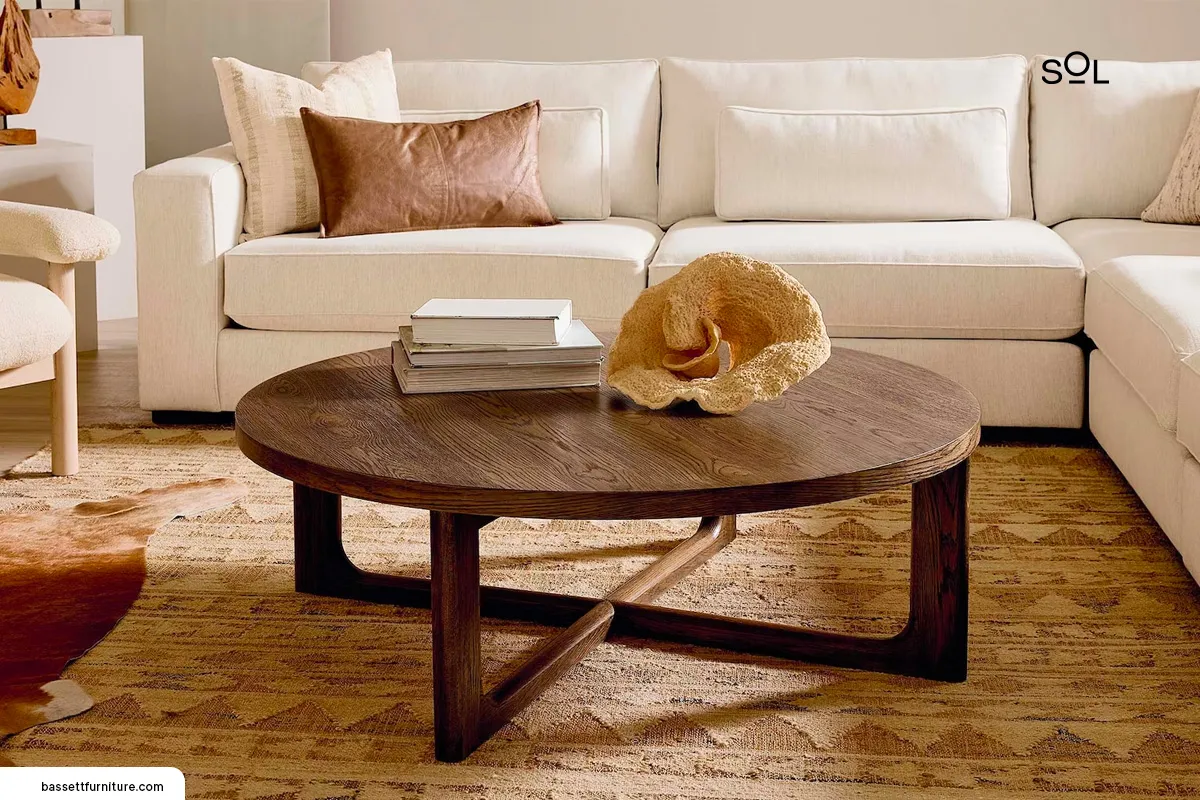
Outdoor furniture is meant to last for a long time. While it can be easy to go to the local store and find the table you want to use, some people feel better by working on it themselves. If that’s how you feel, then working on a 48” round outdoor coffee table may seem like a good project for you.
An outdoor table is a must for those with outdoor spaces. It can provide an extra layer of comfort to you and your guests, and it can also be a great conversation starter – especially if you’re the one behind the project. That’s why, today, we’ve come up with a guide you can use to make a 48” outdoor coffee table in easy steps.
Bear in mind that you don’t have to be an expert in carpentry or similar skills. You can easily complete this project with the right materials and tools. Let’s get started!
What You’ll Need
Woodwork may seem a bit daunting if you’re a first-timer or feel like you won’t be able to go through that process. However, that’s not today’s case. We’re going to make sure that you’re able to build the best patio table without feeling stressed. Here’s what you’ll need:
- Since this is a 48” outdoor coffee table, you will need a tabletop with such measurements. You can do it yourself, or you can purchase it ready to go if you don’t have the right tools.
- You need a few 4×4”s for the legs.
- Lastly, please find sufficient decking screws or an equivalent item, as this is what you’ll use to attach the legs to the tabletop. You can use 2 ½” decking screws.
Since this is an easy DIY project, you won’t need any intricate tools. All you’ll need will be a hammer, maybe a drill, nails, etcetera. You can also use a nail gun if you want to make things easier. As for the wood pieces, you can easily buy them at your local tool shop, for example.
Make sure to be familiar with the bistro table height and the correct measures since you’re making a 48″ round outdoor coffee table.
DIY 48” Round Outdoor Coffee Table: Crafting Process
Follow the steps written below to get started with your new DIY project. It’s not very complicated, but it may take you the whole afternoon to see the results. Here’s what you need to do:
Step one: Get your 48” rounded tabletop ready.
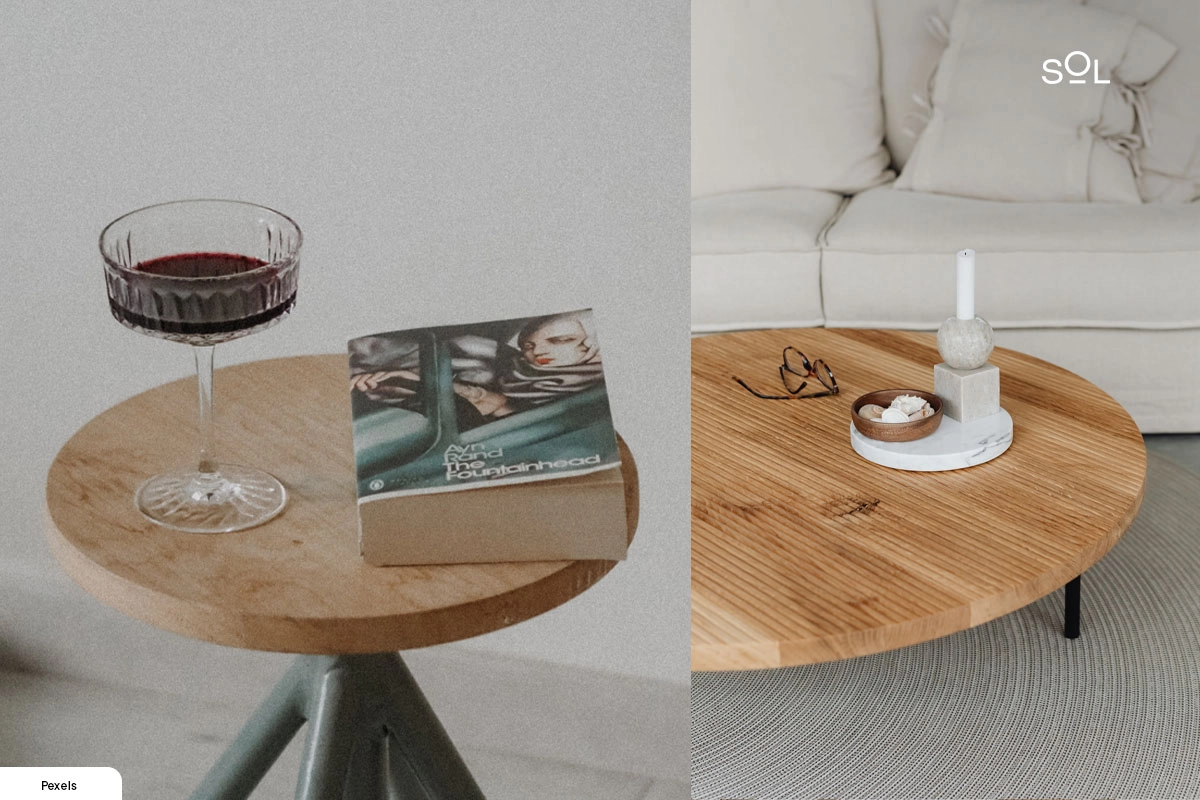
The first step is to get your tabletop, which should have a rounded shape. You can carve it yourself, but if you want to make the job less time-consuming, you can purchase it ready so that you only have to attach the legs to it. We recommend going for the second option if you’re not very familiar with woodwork and would like to make this DIY process as less daunting as possible.
Step two: Cut the legs.
The second step is to cut the legs to the right height. If you checked the above height for the bistro table height, you should be able to proceed with ease. Bear in mind that you can also cut the legs in the length that you find most convenient for your project. Some people may recommend cutting them to 20″, but you can make them as tall or as short as possible while considering that this is a coffee table.
You will need four or three legs, depending on the layout you have in mind. Both of these options offer excellent stability, but the latter may take longer to build.
Step three: Attach the legs to the tabletop.
Now, it is time to attach the table’s legs to the tabletop. There are different ways in which you can do so, depending on the number of legs and the layout that best adapts to your needs:
- You can attach the legs directly to the frame of the tabletop, allowing you to start using it pretty much immediately after integrating all the components together.
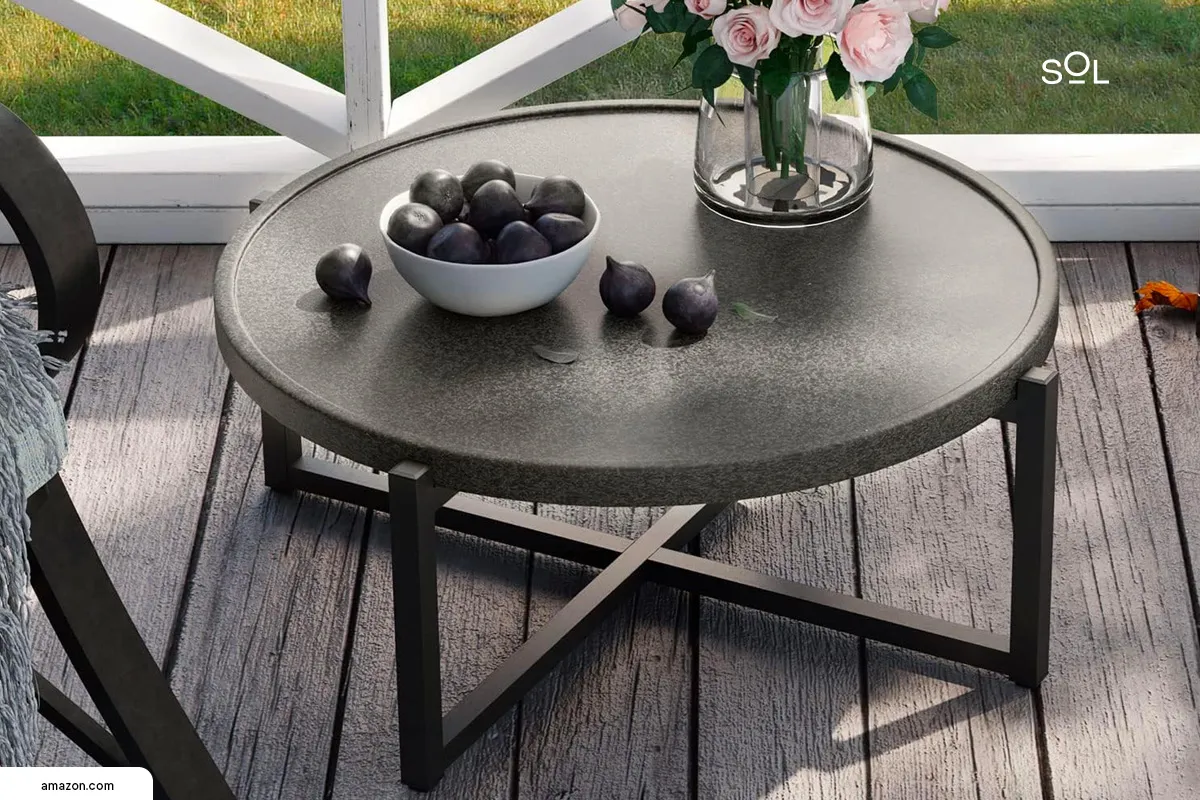
- You can opt for a cross-base instead. That means you’ll have to cut two additional pieces of wood and create a more stable base by attaching all the legs before adding them to the tabletop. It provides more stability than other legs, but it’s more time-consuming.
Whatever the layout you’ve chosen, make sure to measure every piece of wood as well as possible so that your table has the right height and is balanced. All legs should have the same distance between each other, and they should also share the same height.
Step four: Provide maintenance.
Last but not least, once you have attached the legs to your tabletop, the next step is to care for it. Remove all the debris and provide the regular wood maintenance that you would give to any other piece of wood. You can even paint it if you think it’s necessary or if you would like to improve its appearance. This project isn’t too complicated, and you should be able to start using your new table on the same day.
Wrapping Up
There are different ways to make an outdoor coffee table, and we’ve listed some of the least complicated ways to do so. These instructions also work perfectly for a 48″ square outdoor coffee table since all you need to do is adjust the instructions to the measurements of the tabletop.
While a DIY coffee table can be a rewarding project, it can also be exhausting and a bit daunting for some people. Remember that there are tons of wicker outdoor coffee tables and other options that you can explore in the market if you’re not feeling crafty today. However, building your own outdoor coffee table may also inspire you to create several other items for your patio.
Who knows? Maybe this will be the start of a new hobby, which means that you might be able to retreat and feel better while also making something useful for your home.
