Crafting a dining table for your patio not only provides you an opportunity to get a design and size of your choice but also get salvaged wood into use. In this article, you will get a complete guide on how you can transform the old wood into an attractive dining table for your outdoors. This 8ft outdoor table will be constructed in eight steps, so make sure you read all of them carefully.
For the ones who want a design different from what we will construct today, we have listed some great 8 foot outdoor table design ideas at the end that you can use while constructing. So read on and explore more.
Step-by-step process
1. Things to Buy
Here is the list of things you need to get for the construction of an 8’ outdoor table.
- Drill
- Wood screws or waterproof wood screw
- Measuring tape
- Hand saw
- Sandpaper
- Sander
- Kreg Jig
- Salvaged wood
- Hammer
2. The Process
Check the wood condition
The first step is to check the condition of the wood. The condition determines how you can smartly cut the areas that can be used for the construction. You need smooth pieces to start, so that is what you need to look for. Scrub down the boards and check if there are any screws or nails in it. Remove if there are any.
Measure the size and mark the cutting spots.
Once your wood is in a smooth condition, mark the spots to cut 8-foot-long planks. Make sure you mark at least 5 planks of 8 feet and three planks of the size of your table width. An ideal width would be around 3 feet. The width of the planks can vary, so make sure you measure the total width of your table after putting all five planks together on the ground. We recommend making the cuts to adjust the width to 3 feet if it exceeds this number.
Cut the lumber for the dining table
Now that you have marked the spots where you need to make the cuts, use your hand saw to make the final cuts. To make the precise cuts, make sure you draw lines using a pencil and a scale. Make sure you have the lines matched on every side of the plank. Once you are done with cutting, check the cut area to see if it’s smooth.
Lay it all down on the floor.
Measurements are very important in the construction of outdoor furniture. So, lay down your planks again to see if you have made the right cuts. Equal planks of 8 feet long put together to form a total width of 3 feet is what you need to look for.
Attach the support beams and table aprons.
To keep the different planks of your tabletop together, you need to attach the support beams below it. In the cutting phase, you prepared three planks of the size of your table width. Use these planks on the underside of your tabletop by attaching them perpendicular to the direction of the tabletop 8’ outdoor dining table top. One plank in the middle while two on the sides would hold the table top firmly. You can use your drill to screw all the planks in place. Around 10 screws per plank, to support the beam would be ideal.
For the table aprons, cut 7.8 feet planks for the length and 2.75 feet planks for the width of your 8’ outdoor table. Use your Kreg jig to find the right spots for screwing the aprons to the tabletop.
Sand your wood
Once your tabletop is prepared, it’s time to sand the wood to make the surface smoother. However, before you start sanding, make sure to fill the gaps between the planks by using a wood filler. The ones working with rough wood can start with 60 grit and work their way up to find the ideal finish. We highly recommend Ronseal multi-purpose wood filler for filling the gaps.
Prepare the legs
With the completion of the tabletop, it’s time to prepare the legs. Here, you have two options – you can either go for hairpin legs or prepare your wood legs with a customized design. For a simple design, use 2.4-foot-long planks as the legs of your 8ft outdoor dining table. However, you can change the design by using a cross legs design or some other from the design listed in the next section.
Use varnishes and stains for finishing
Use varnishes and stains for the final touches. There are a variety of stains and varnishes available in the market. You can either go for a matte or glossy finish; however, we highly recommend the Ronseal varnish that provides a non-yellowing finish to your wood while keeping its original tone. Apply two coats to provide extra protection and prevent mold on wood furniture.
Wood outdoor dining table design ideas
Here are some of the most popular 8ft outdoor dining table design ideas for you to complete your best outdoor wood furniture set.
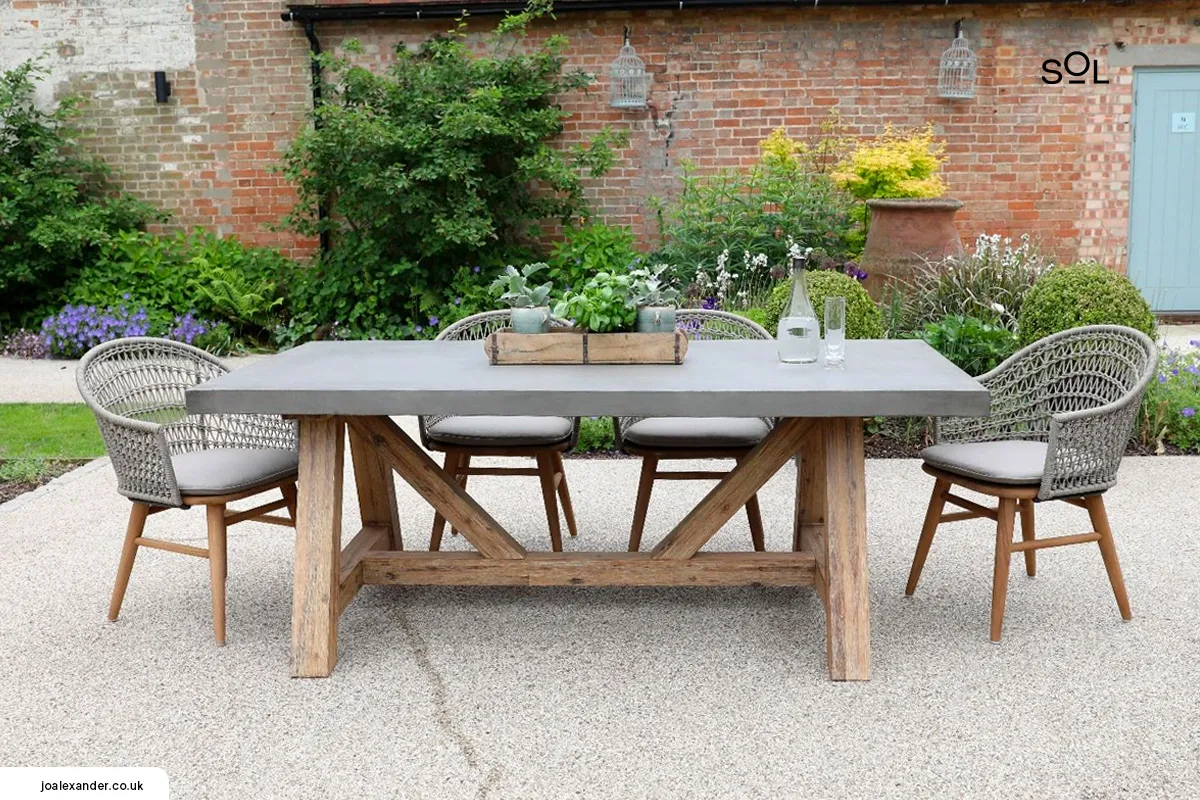
The X-bone design
The first is the x-bone design, where you attach two x-shaped legs to each end of the table. The two centers of the X’s are then joined by a long plank to make the base stronger. The design is quite popular due to its modern appeal and ample leg space, allowing it to fit into all deck furniture ideas. However, the only downside is that you will need 6 different pieces of wood to complete the base.
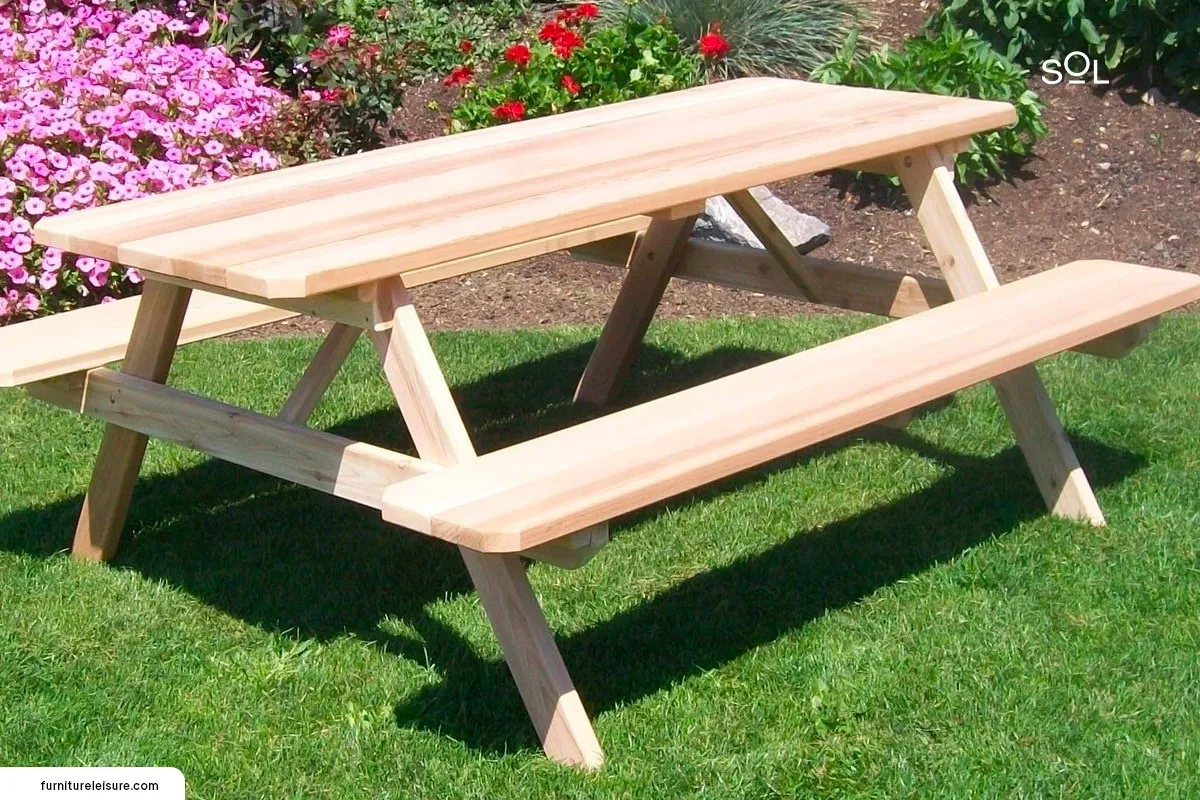
The traditional design
The traditional design simply has four rectangular pieces of wood attached to all corners of the table top. This kind of design is quite simple to construct, as it only requires you to cut four different pieces of planks and attach them with wood glue and screws for stability.
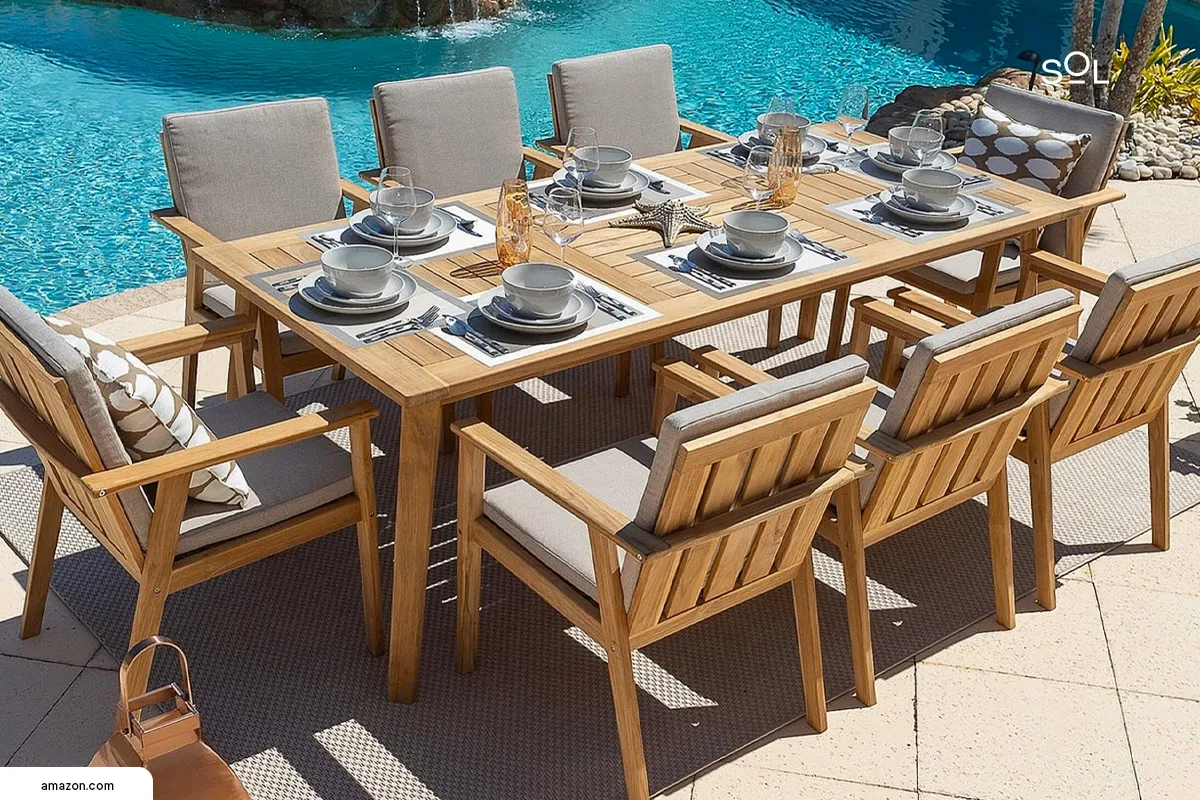
The Dual legs
The dual legs are where you need to be very careful with the placement. The two legs are attached at some distance from the corners to lift the tabletop of your 8ft outdoor table. For wider support, a long base is then attached beneath the two legs placed close together. Another long wood piece also joins the two-sided legs of the table for stability.
